
Halloween Chocolate Vanilla Swirl Cupcakes
Chocolate and Vanilla Swirled Halloween Cupcakes
Halloween is upon us! Yet another spooky season to fill with treats!
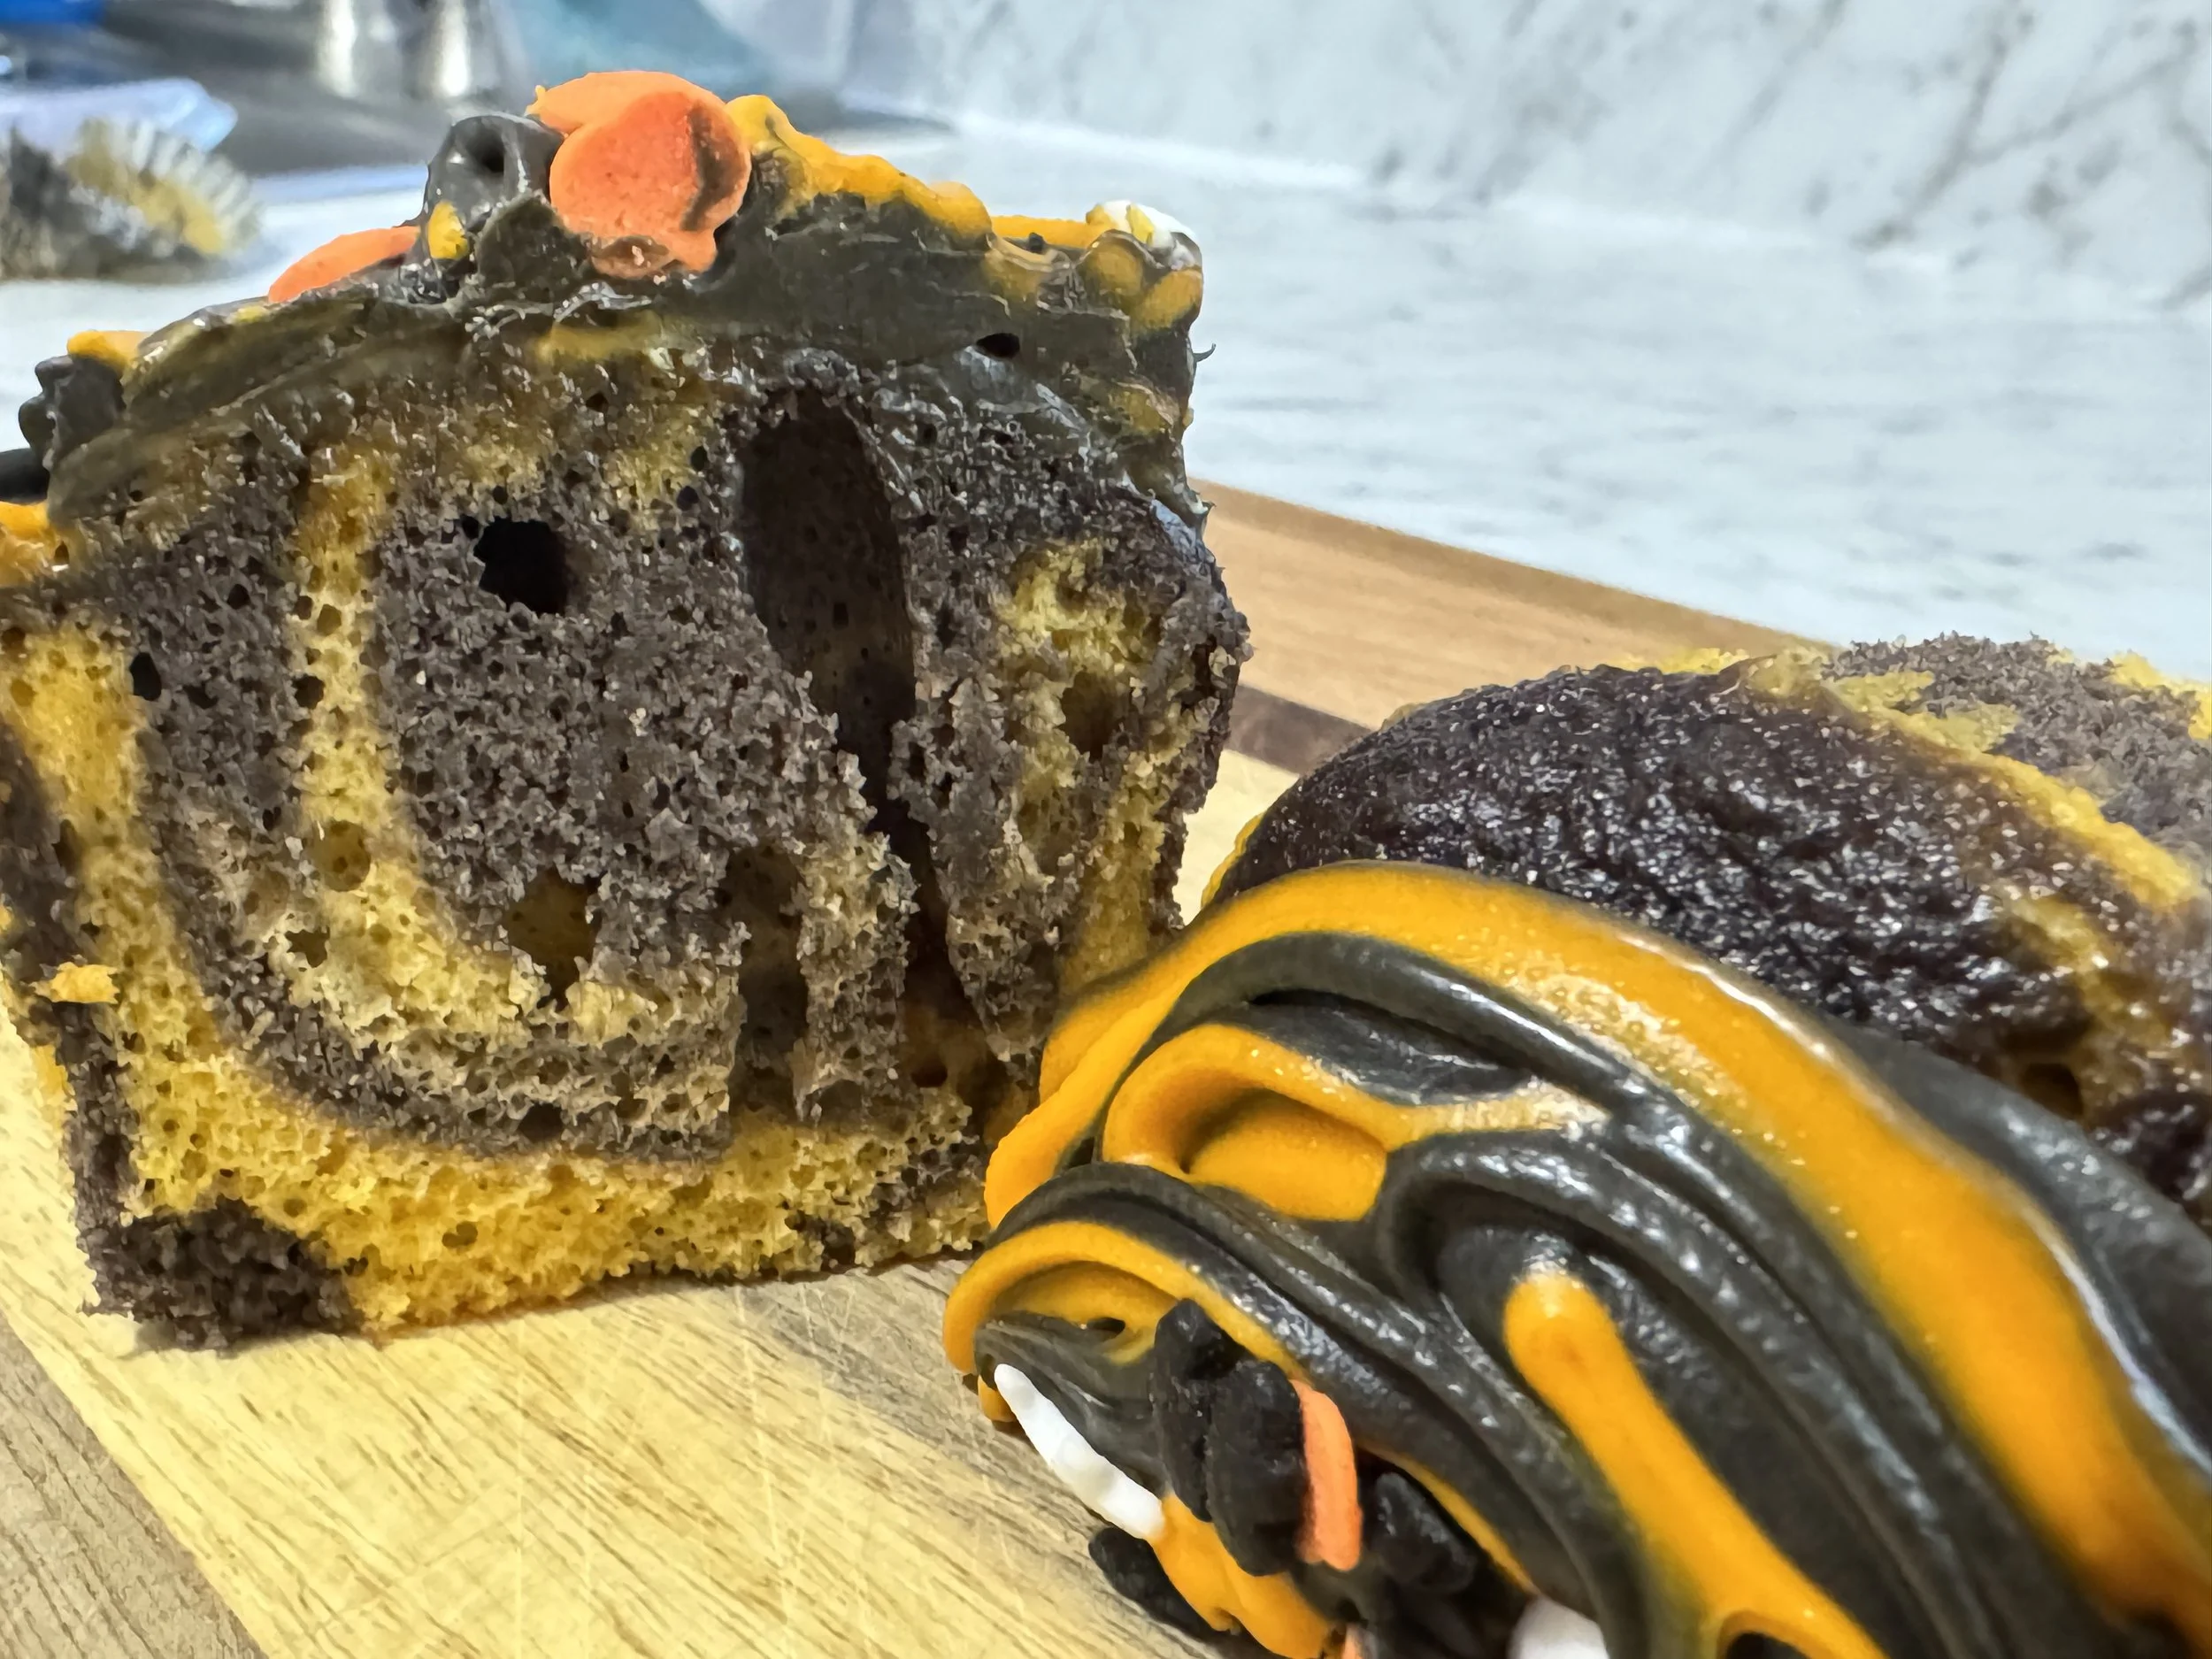
Tricks aside, these cupcakes are amazing. The chocolate and vanilla swirl so well together, and the color just screams Halloween. Take these to work, make them with your kids, and you will win this spooky season.
WATCH THE VIDEO

Chocolate and Vanilla Swirled Halloween Cupcakes
Ingredients:
Chocolate Frosting
Vanilla Frosting
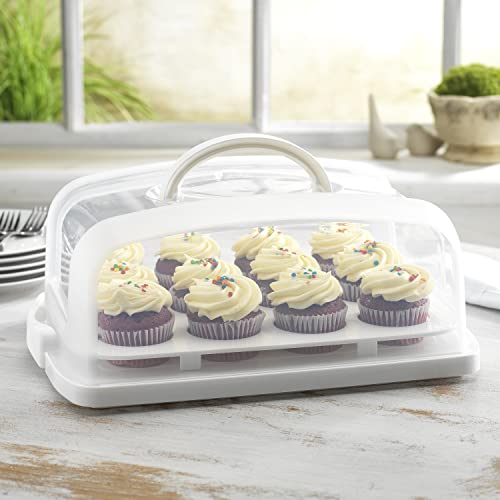
Useful Things

Recipe:

Step 1
Following the instructions on your cake mix, preheat your oven. Mine says 350.

Step 2
Make your chocolate and vanilla cake mix according to your box’s instructions.

Step 3
We’re going to make our vanilla cake batter orange and our chocolate mix black. Add in a single drop of your food coloring and stir it in completely before adding more. NOTE: Adding too much food coloring can change the flavor.

Step 3.5
Here’s a look at the orange and black mix.

Step 4
Now comes the tricky part. See what I did there? We need to get the batter into these icing piping bags.

Step 5
To make this WAY easier, put your icing piping bag inside of a cup that you can fold the bag back around the rim. That will hold the bag in place for you.

Step 6
Fill your piping bags with a small amount of batter. We need to fit TWO of these bags into our reusable piping bag, so keep them on the smaller side.

Step 7
Tie off your bags using the ties that came with your icing kit, or a rubber band. Don’t add any pressure to your bag when teeing it. You should have 2 bags that look like this.
Step 8
Take your 2 bags and line up the tips so they are even. We need to slide both bags into he reusable piping bag so that their tips stick out the open end.


Step 9
Get your cupcake inserts and baking pan, and line a few out.

Step 10
When you're ready, cut the tips off your batter bags. It might take a second for both to come out evenly. You can go wild here, do lines, zig zags, blobs, it doesn’t matter. Have fun!

Step 10.5
Here’s a look at how mine came out.
Step 11
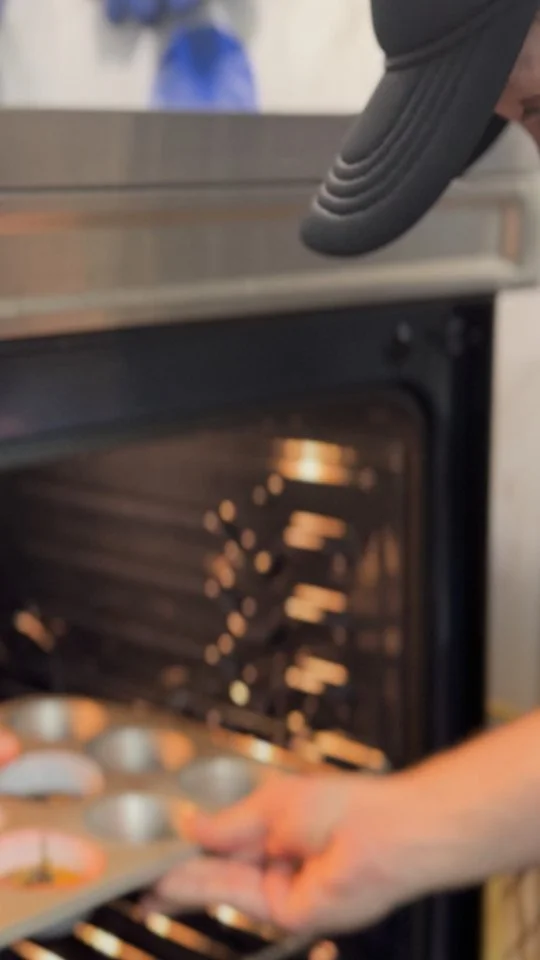
Bake according to your box’s instructions. Mine are going in for 15 minutes.
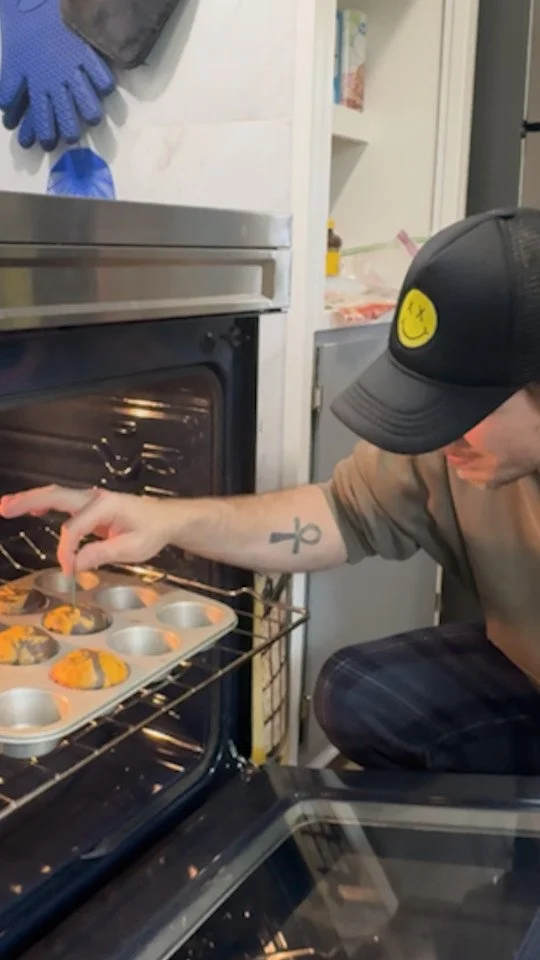
Step 12
After the time is up, give them the toothpick test. If it comes out dry, their ready. If it comes out with batter on it, put them back in for another minute and repeat.

Step 13
Place your cupcakes off to the side to cool.

Step 14
Everything you did for the batter… Do that for the frosting. Mix it with your food coloring, get it into the bags, and back in the reusable bag.
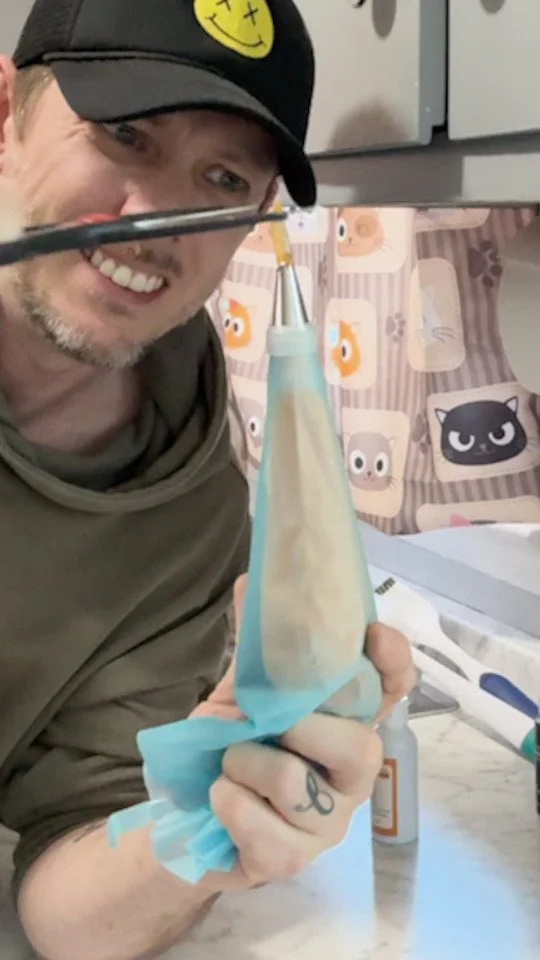
Step 15
This time, we’re going to use the large star tip that came with our icing piping kit.
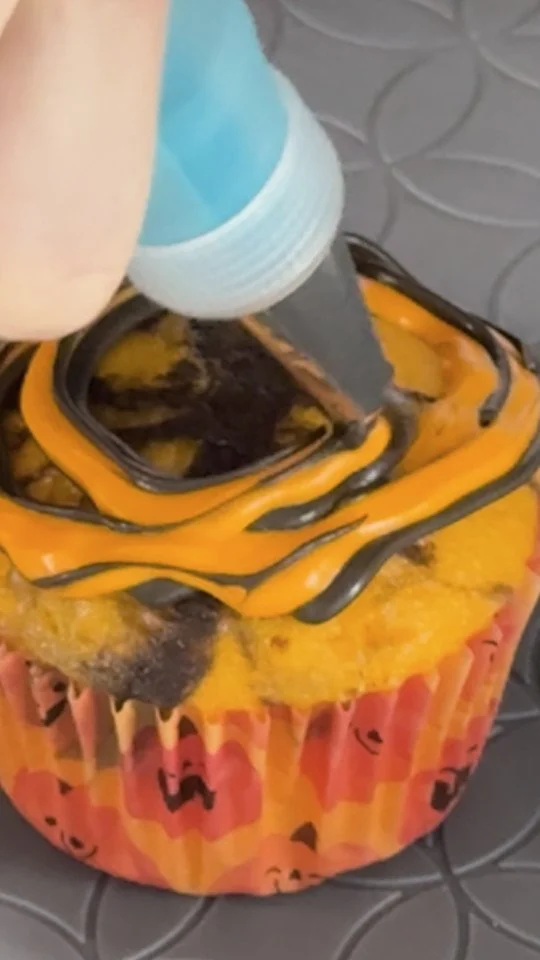
Step 16
Start icing! Have fun with it! Might want to sacrifice a little frosting to make sure they’re both coming out evenly before you start.

Enjoy!
Add some Halloween sprinkles and call it a spooky night!
Still Hungry?

Breakfast is always better when it’s easy to make, easy to eat, and has bacon. Right? If you agree, check out this quesadilla recipe.